
In our battle to have enough electricity in the morning to be able to make coffee, I present… Solar upgrades!
We are adding a second 195 watt solar panel and an upgraded solar charging controller with Bluetooth.
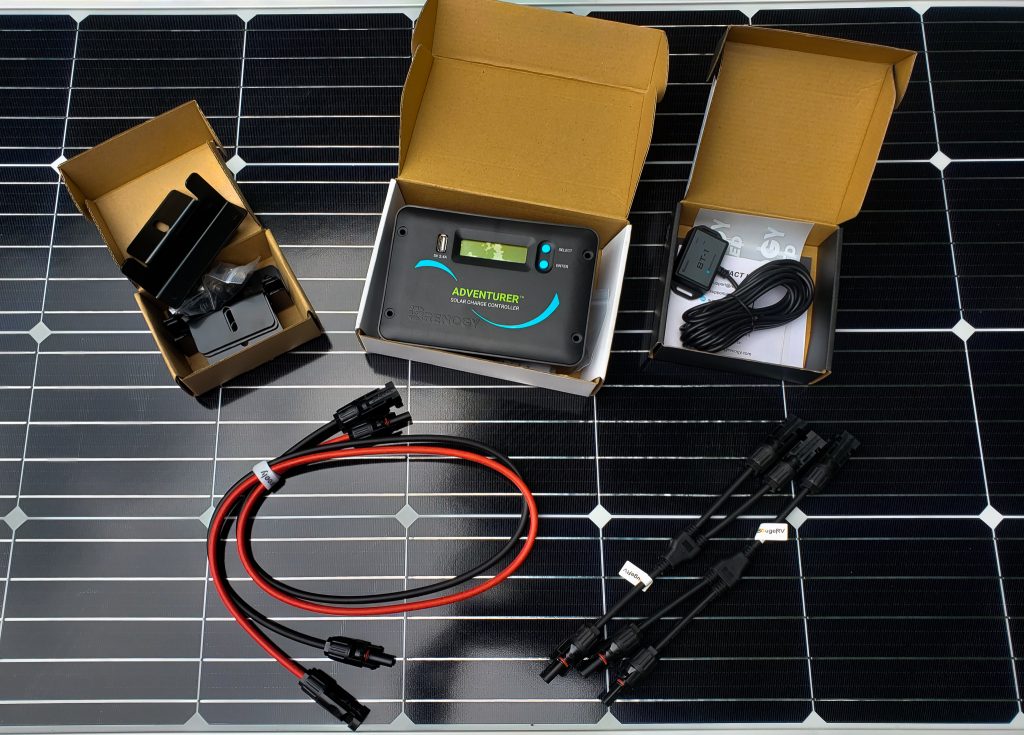
Parts list:
- 195 Watt Solar Panel
- Renogy Adventurer Solar Charge Controller with Bluetooth
- Solar extension wires
- Solar “Y” connectors
- Mounting brackets for solar cell
- Dicor roof sealant
First things first, I disconnected from shore power, disconnected the battery and then used a 3D printed MC4 tool to unhook the existing solar cell. I still used a volt meter to check that the connections were dead, but I’m a belt and suspenders kind of guy when it comes to electricity.
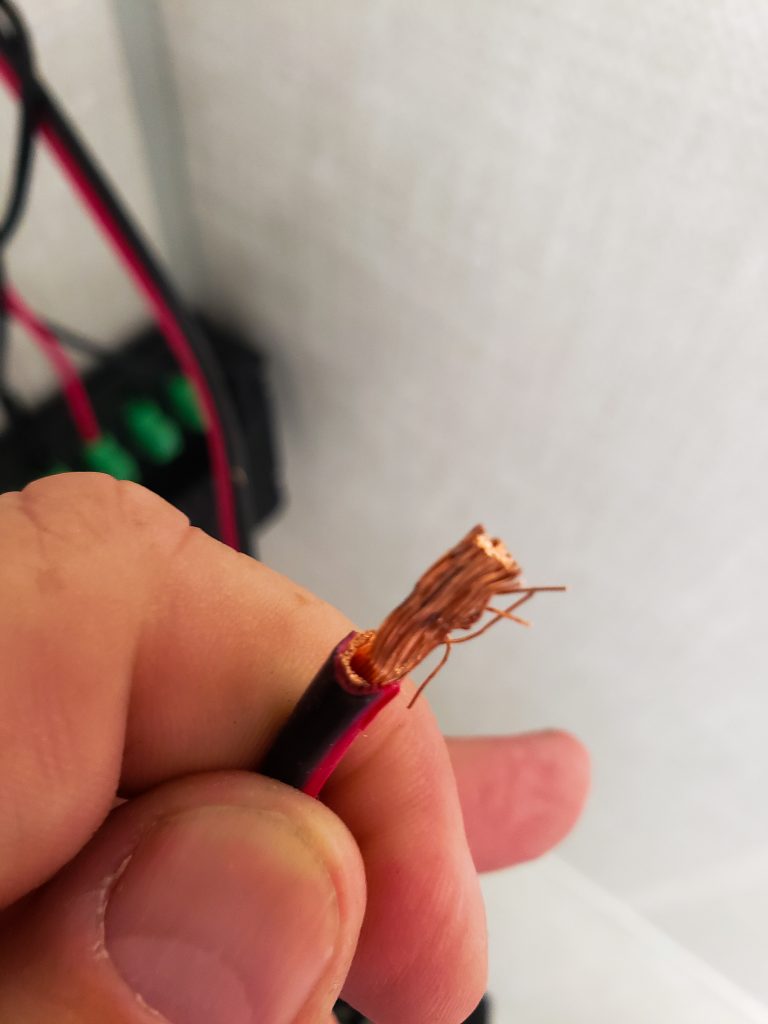
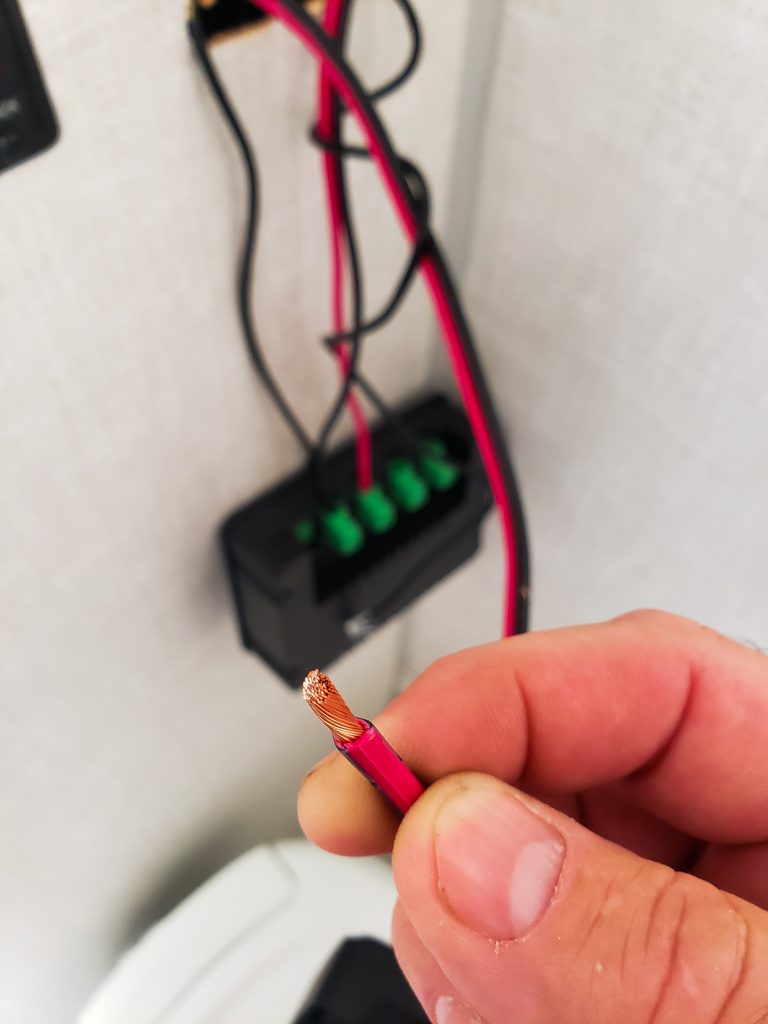
Next, I disconnected the old solar controller. The image below on the left is the wire as I took it out of the old solar controller. Notice that almost half of the strands in that wire were cut. The wire on the left, below is how it looked after I cut the end off and restripped the wire. Hey Forest River, are you TRYING to burn down my trailer, because that’s how you burn down my trailer!
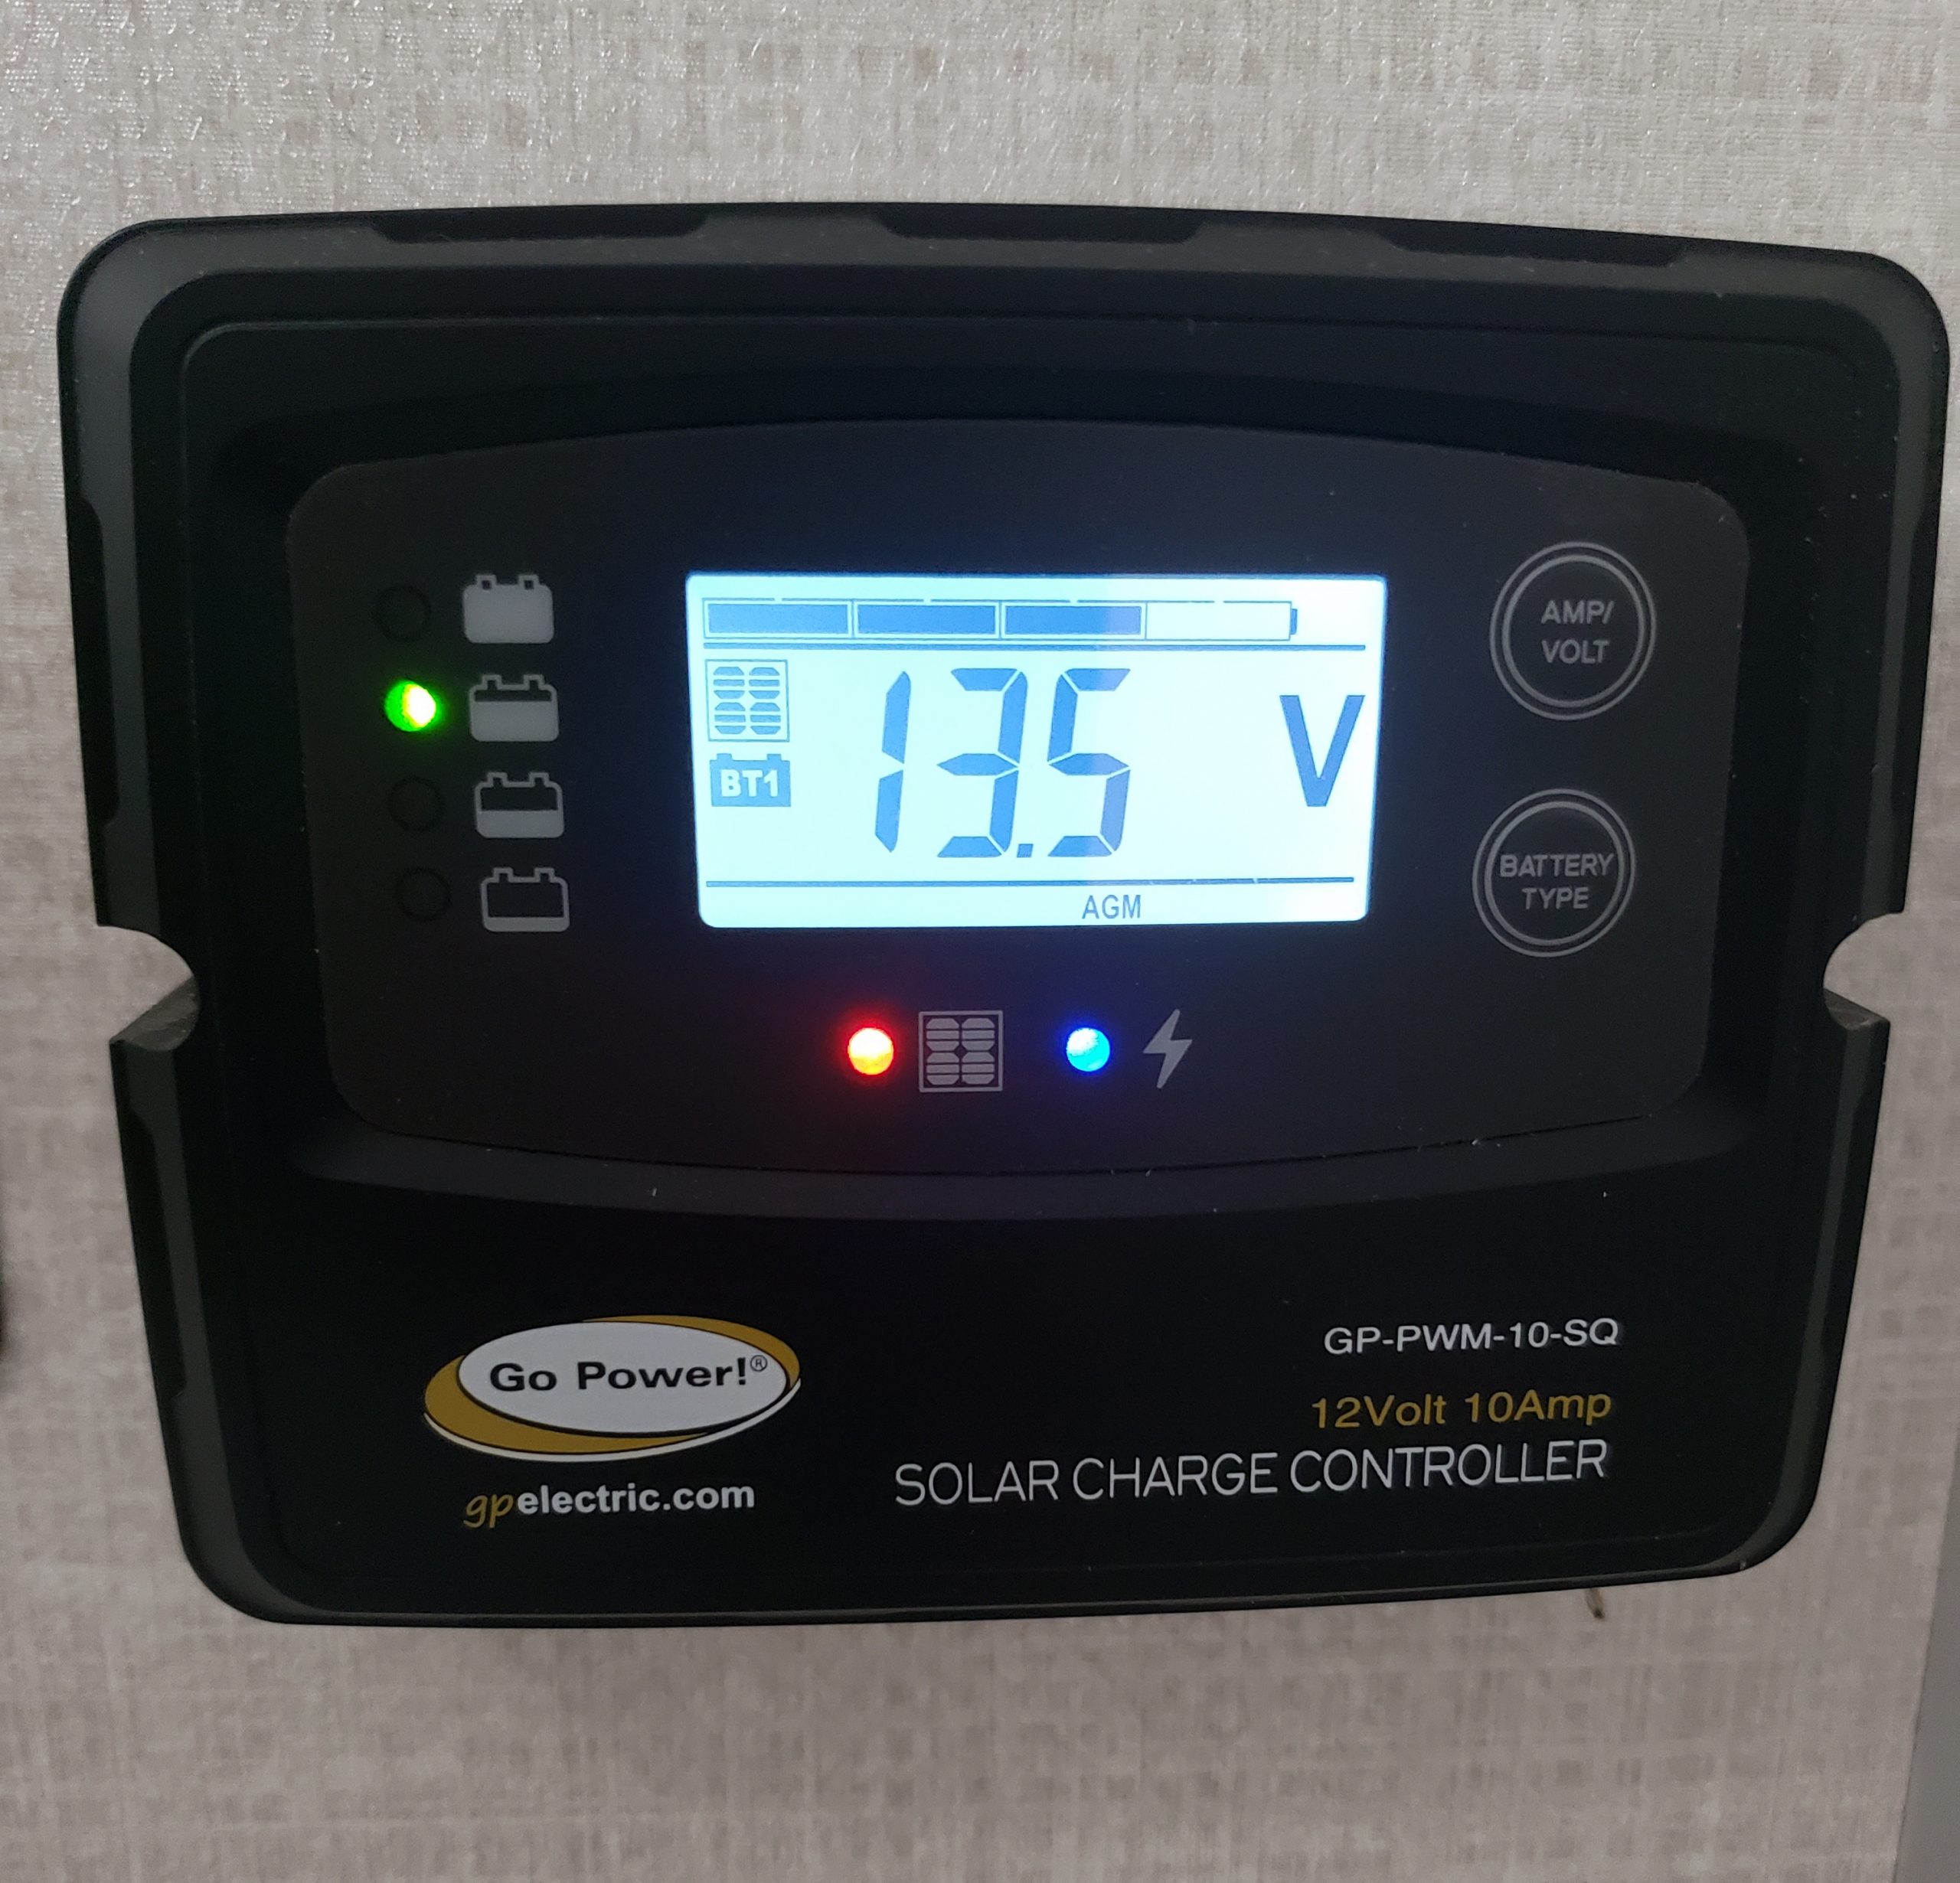
I wired up the new solar controller and reconnected the battery. that part went pretty smooth except for the bit where I dropped the nut into the battery box. Ugh.
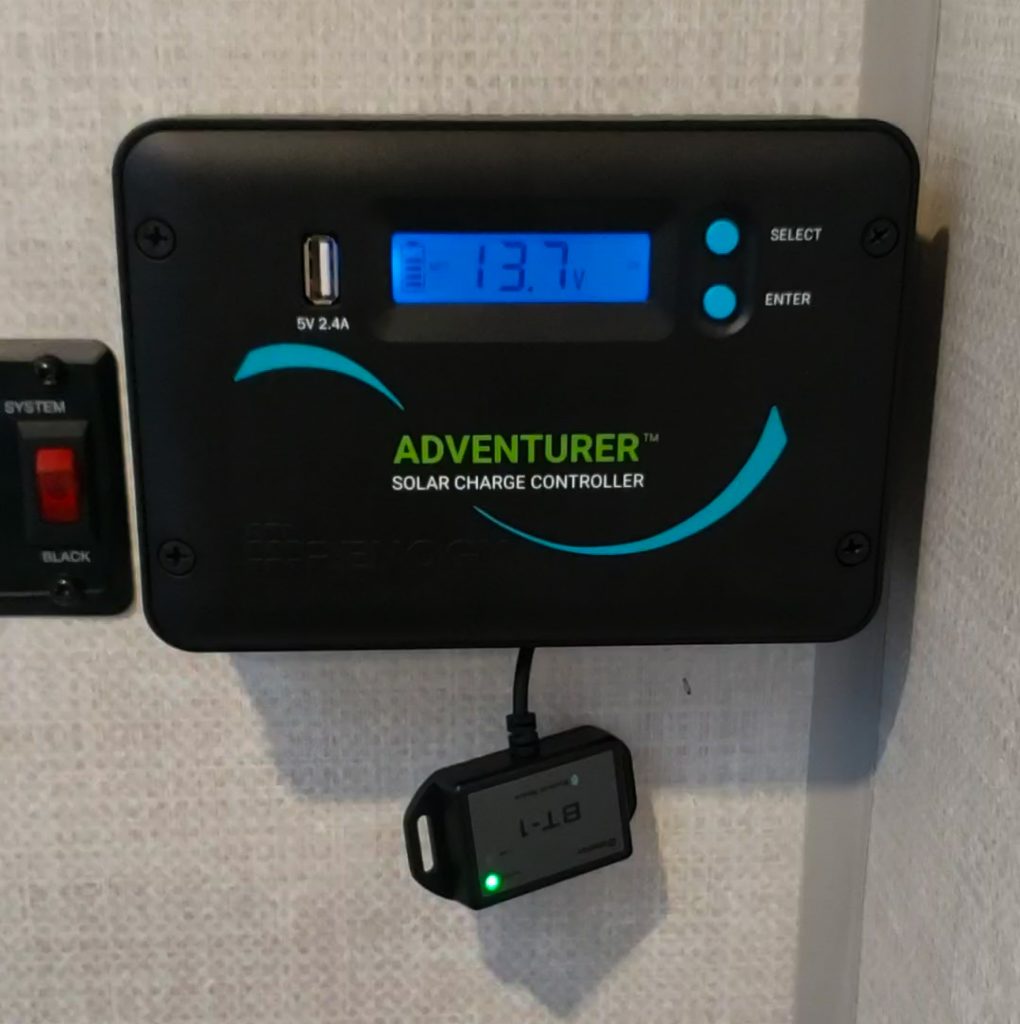
I do need to attach the Bluetooth sender to the wall, but I couldn’t find the command adhesive strips.
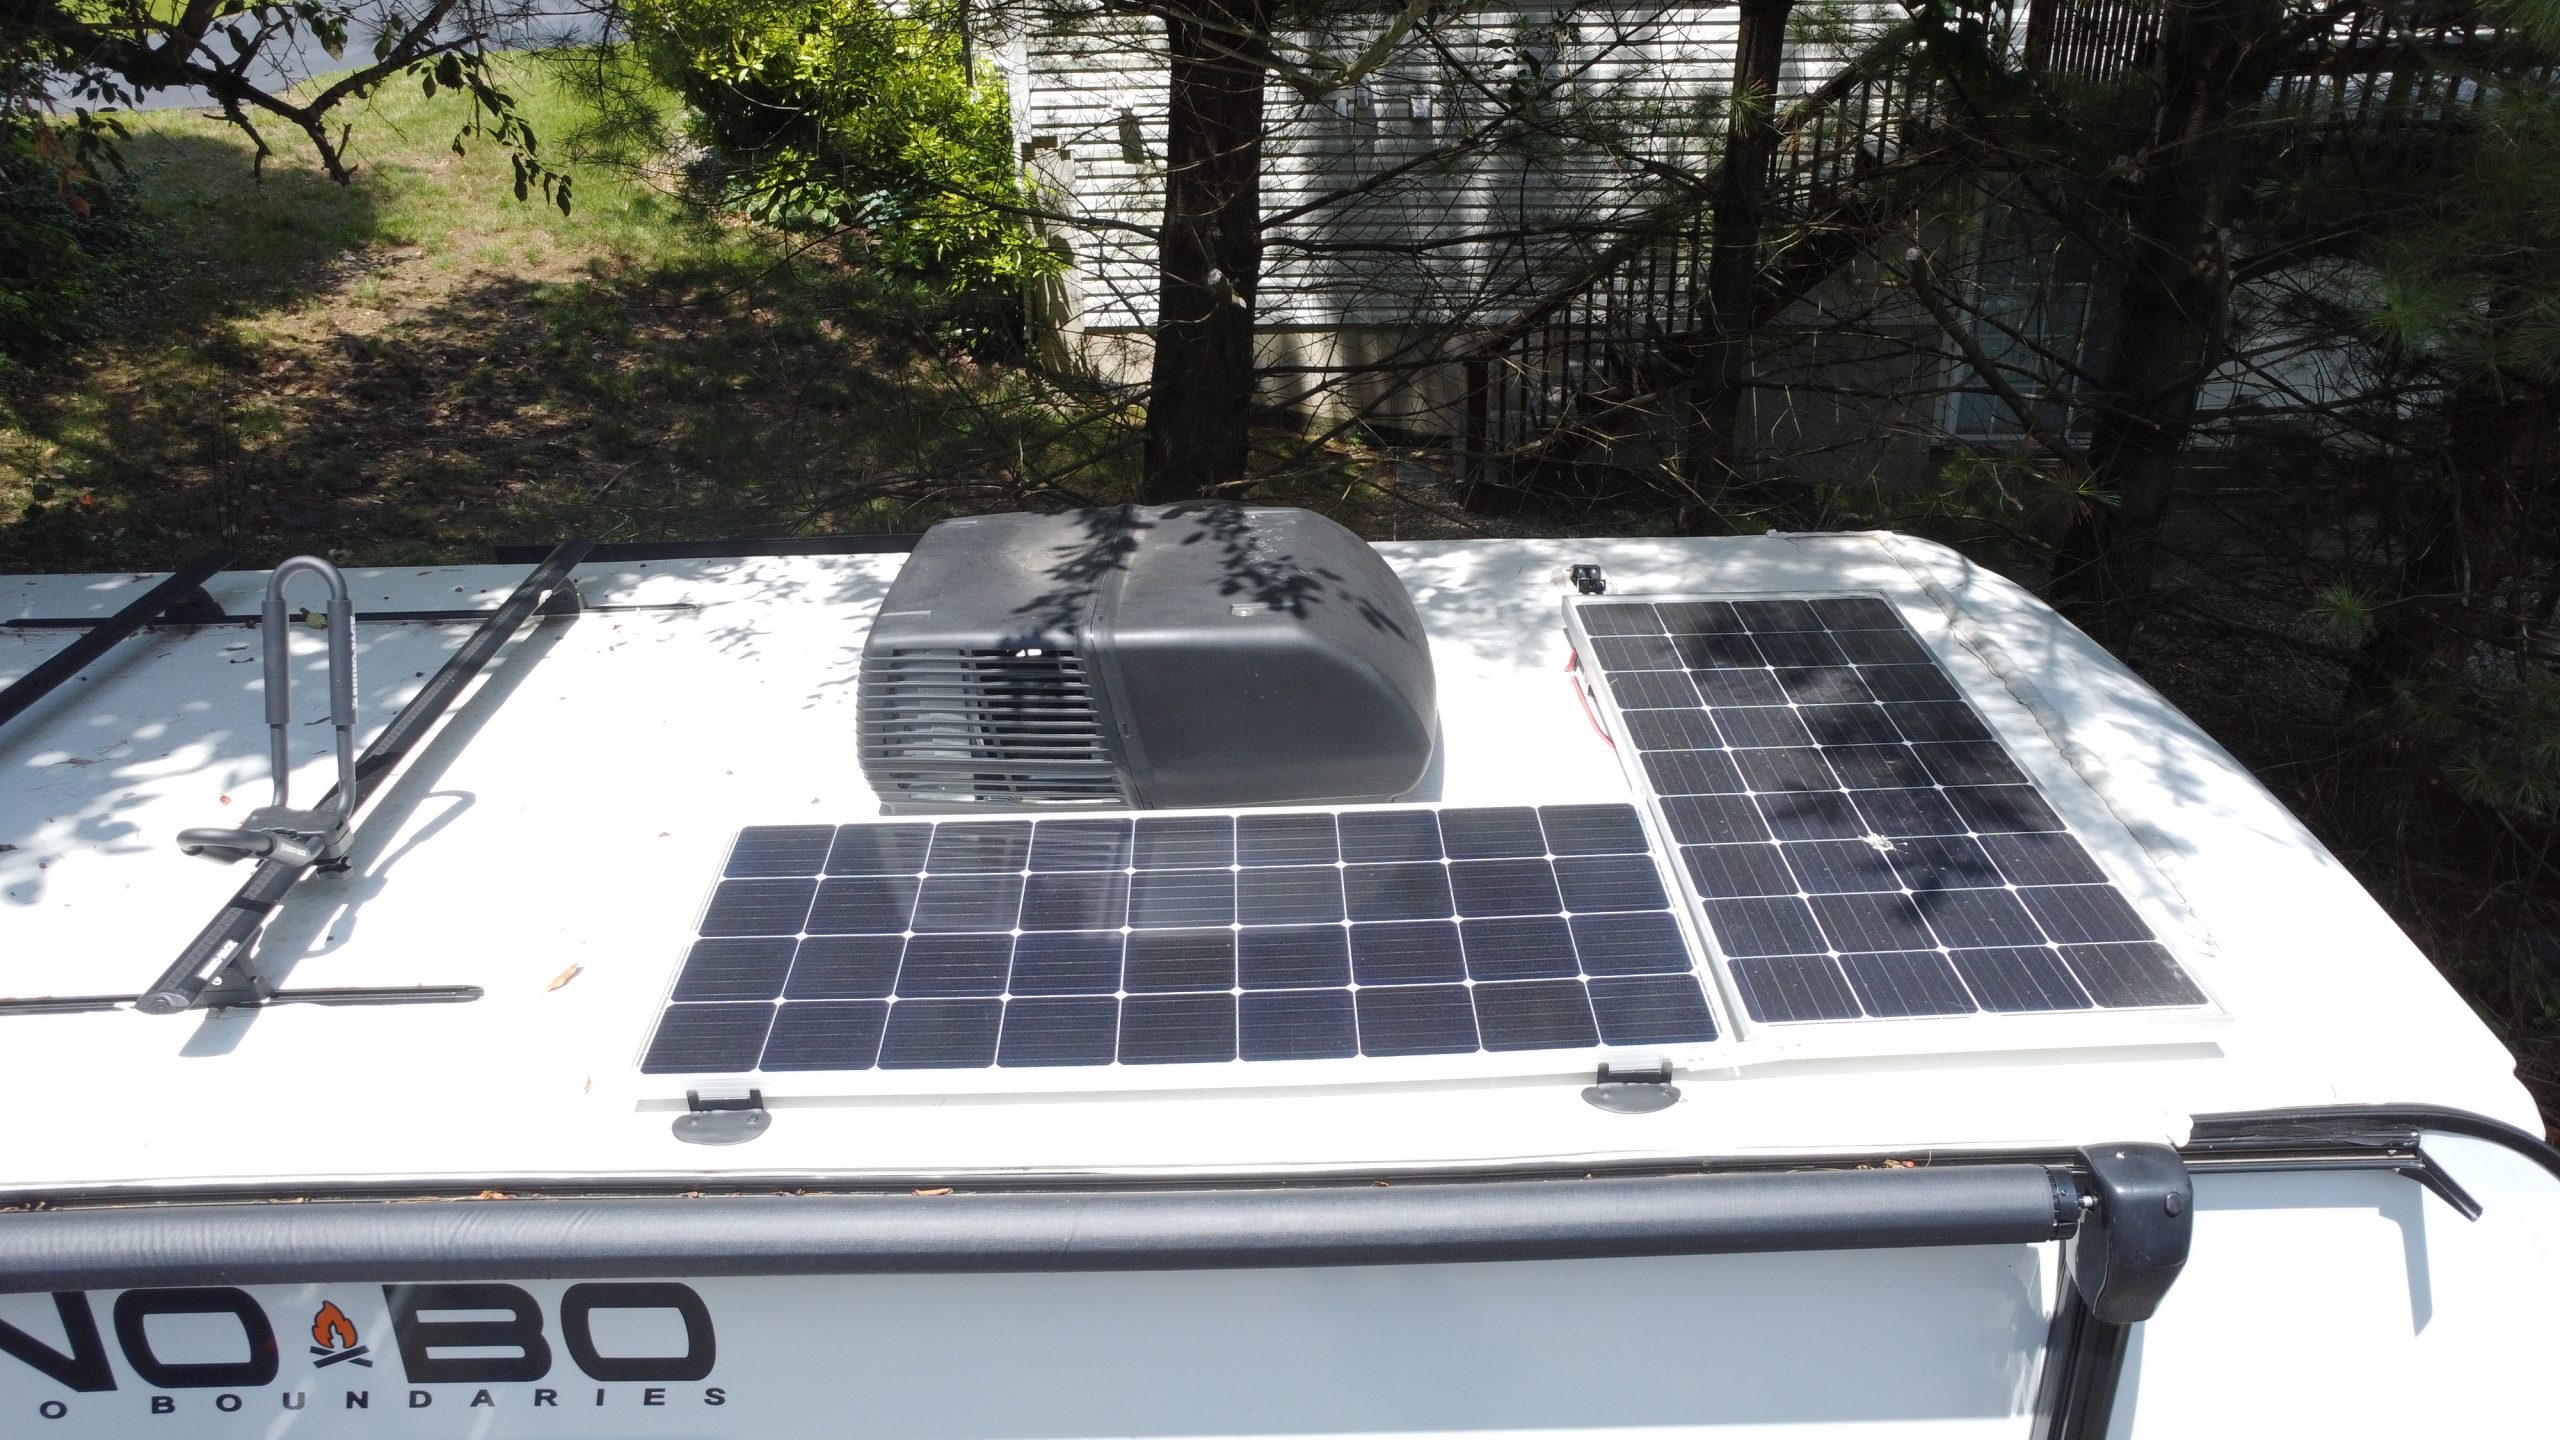
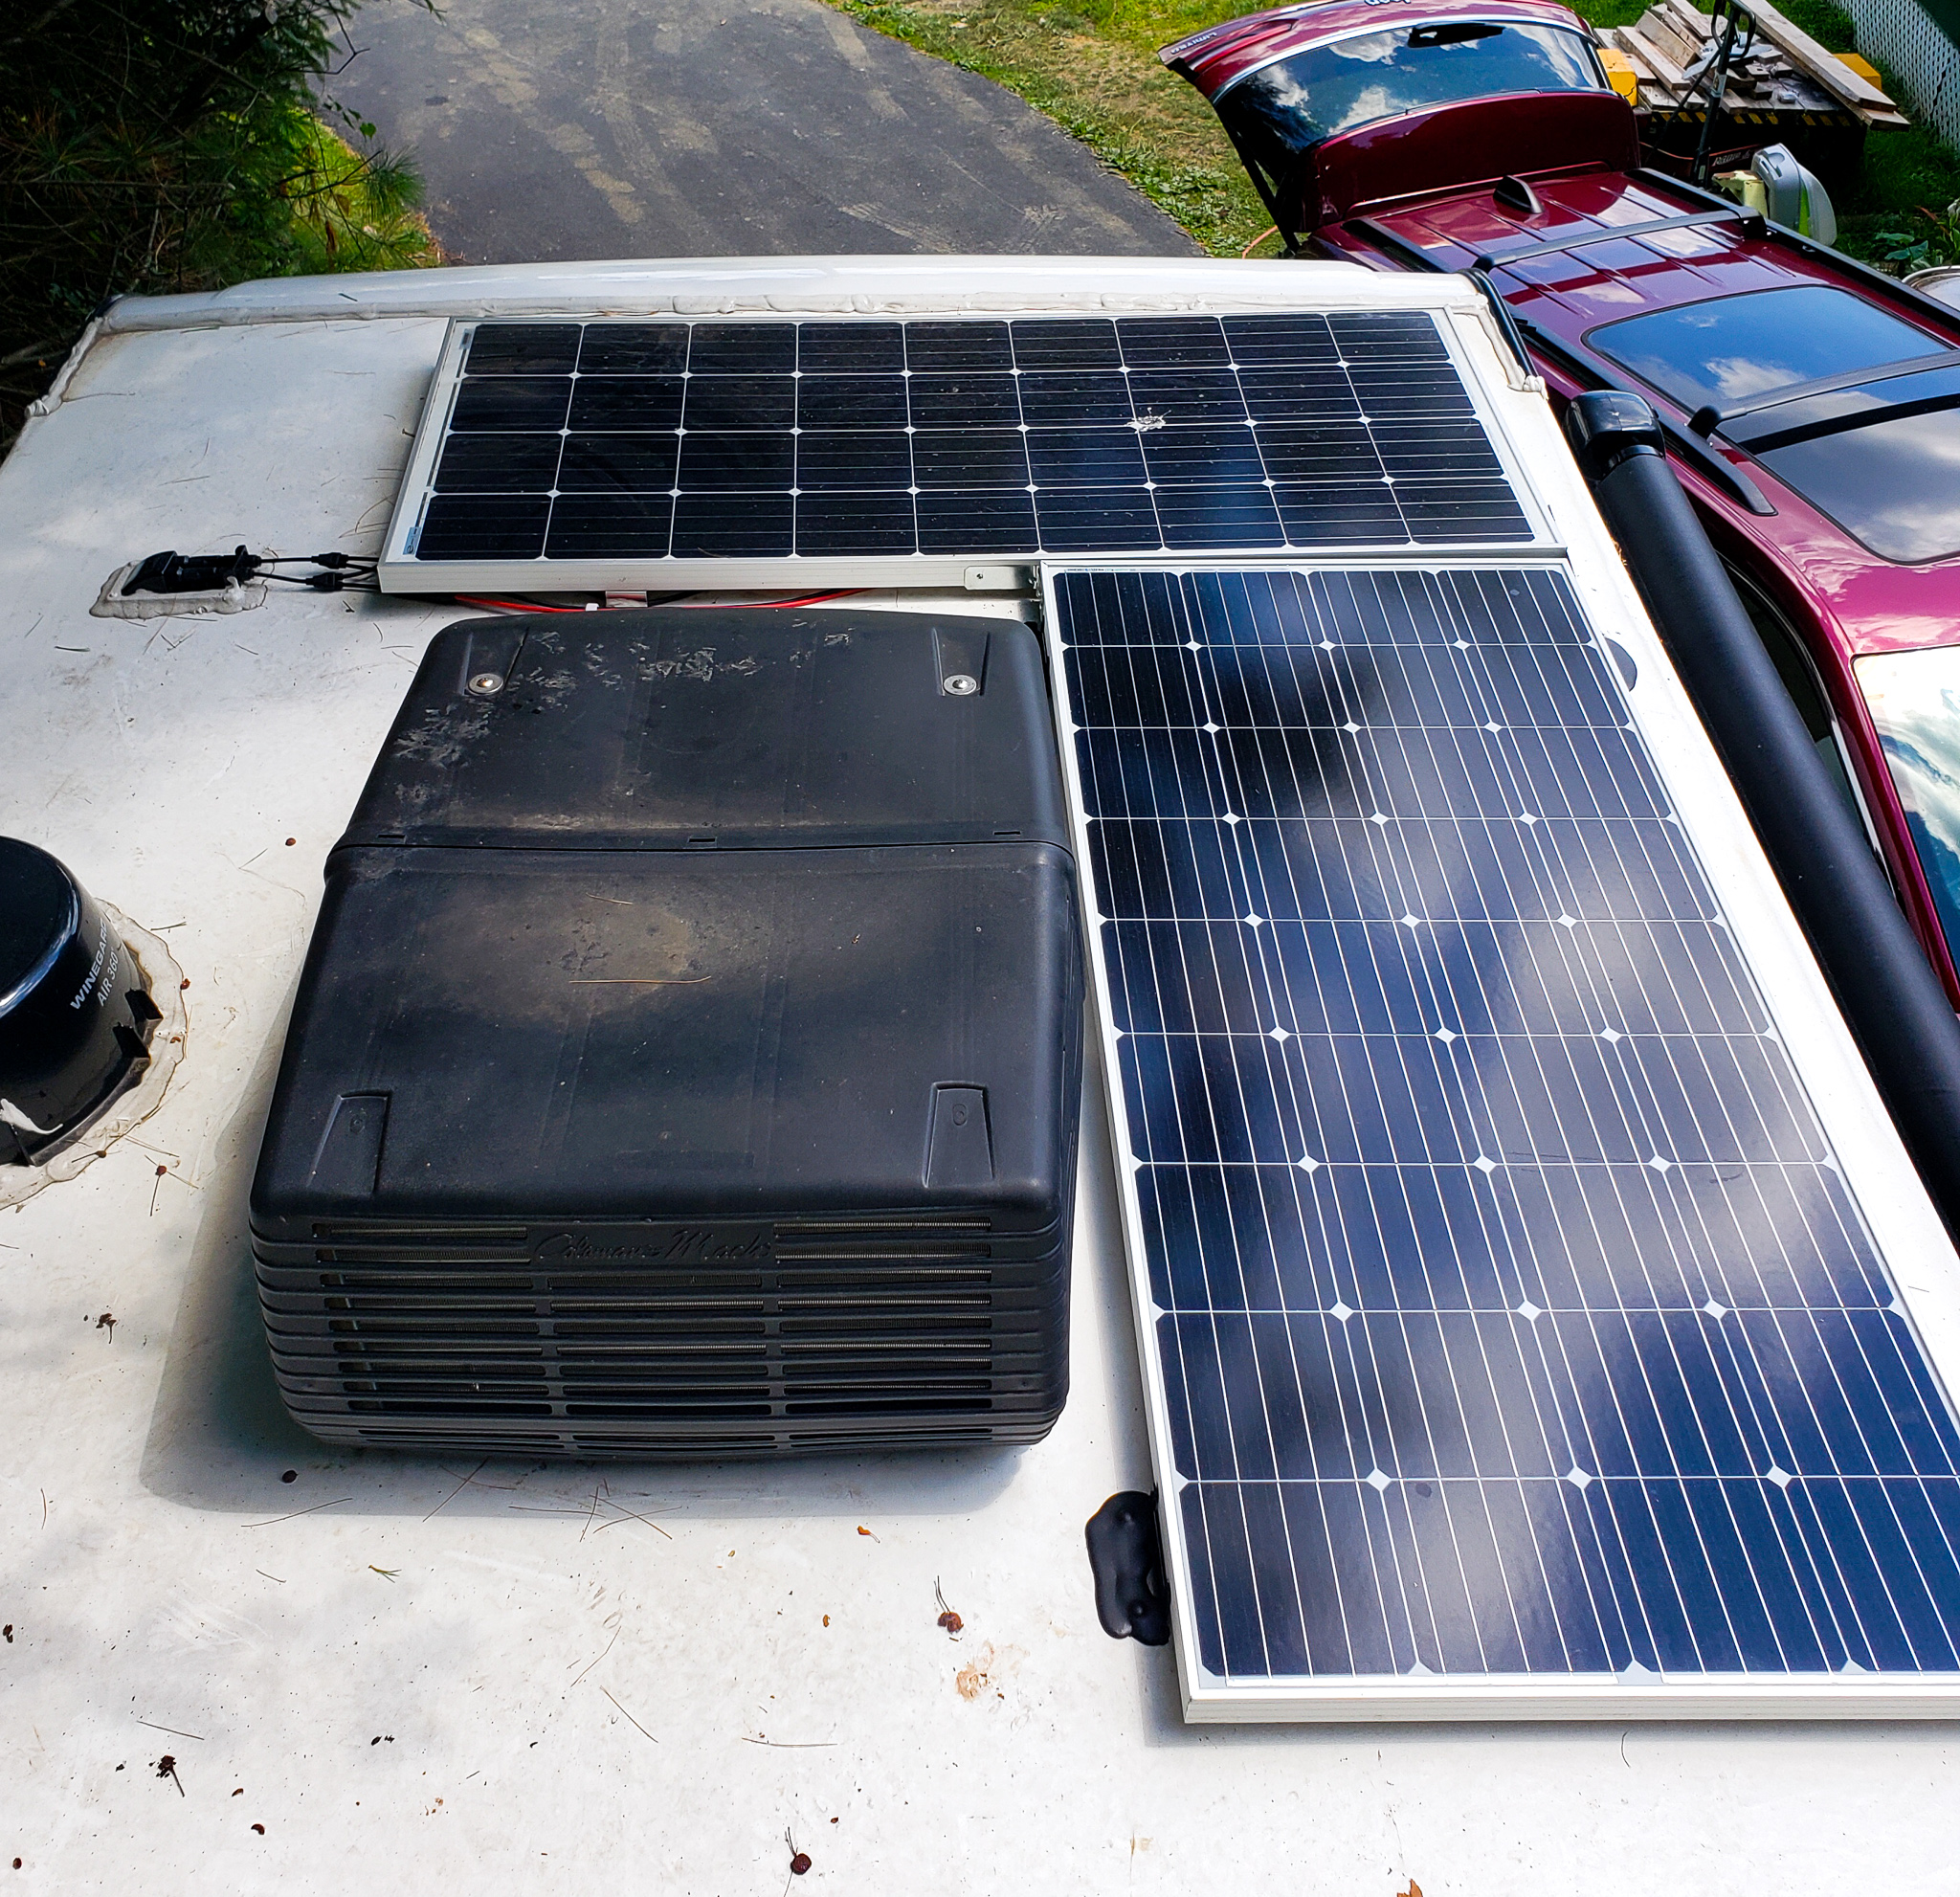
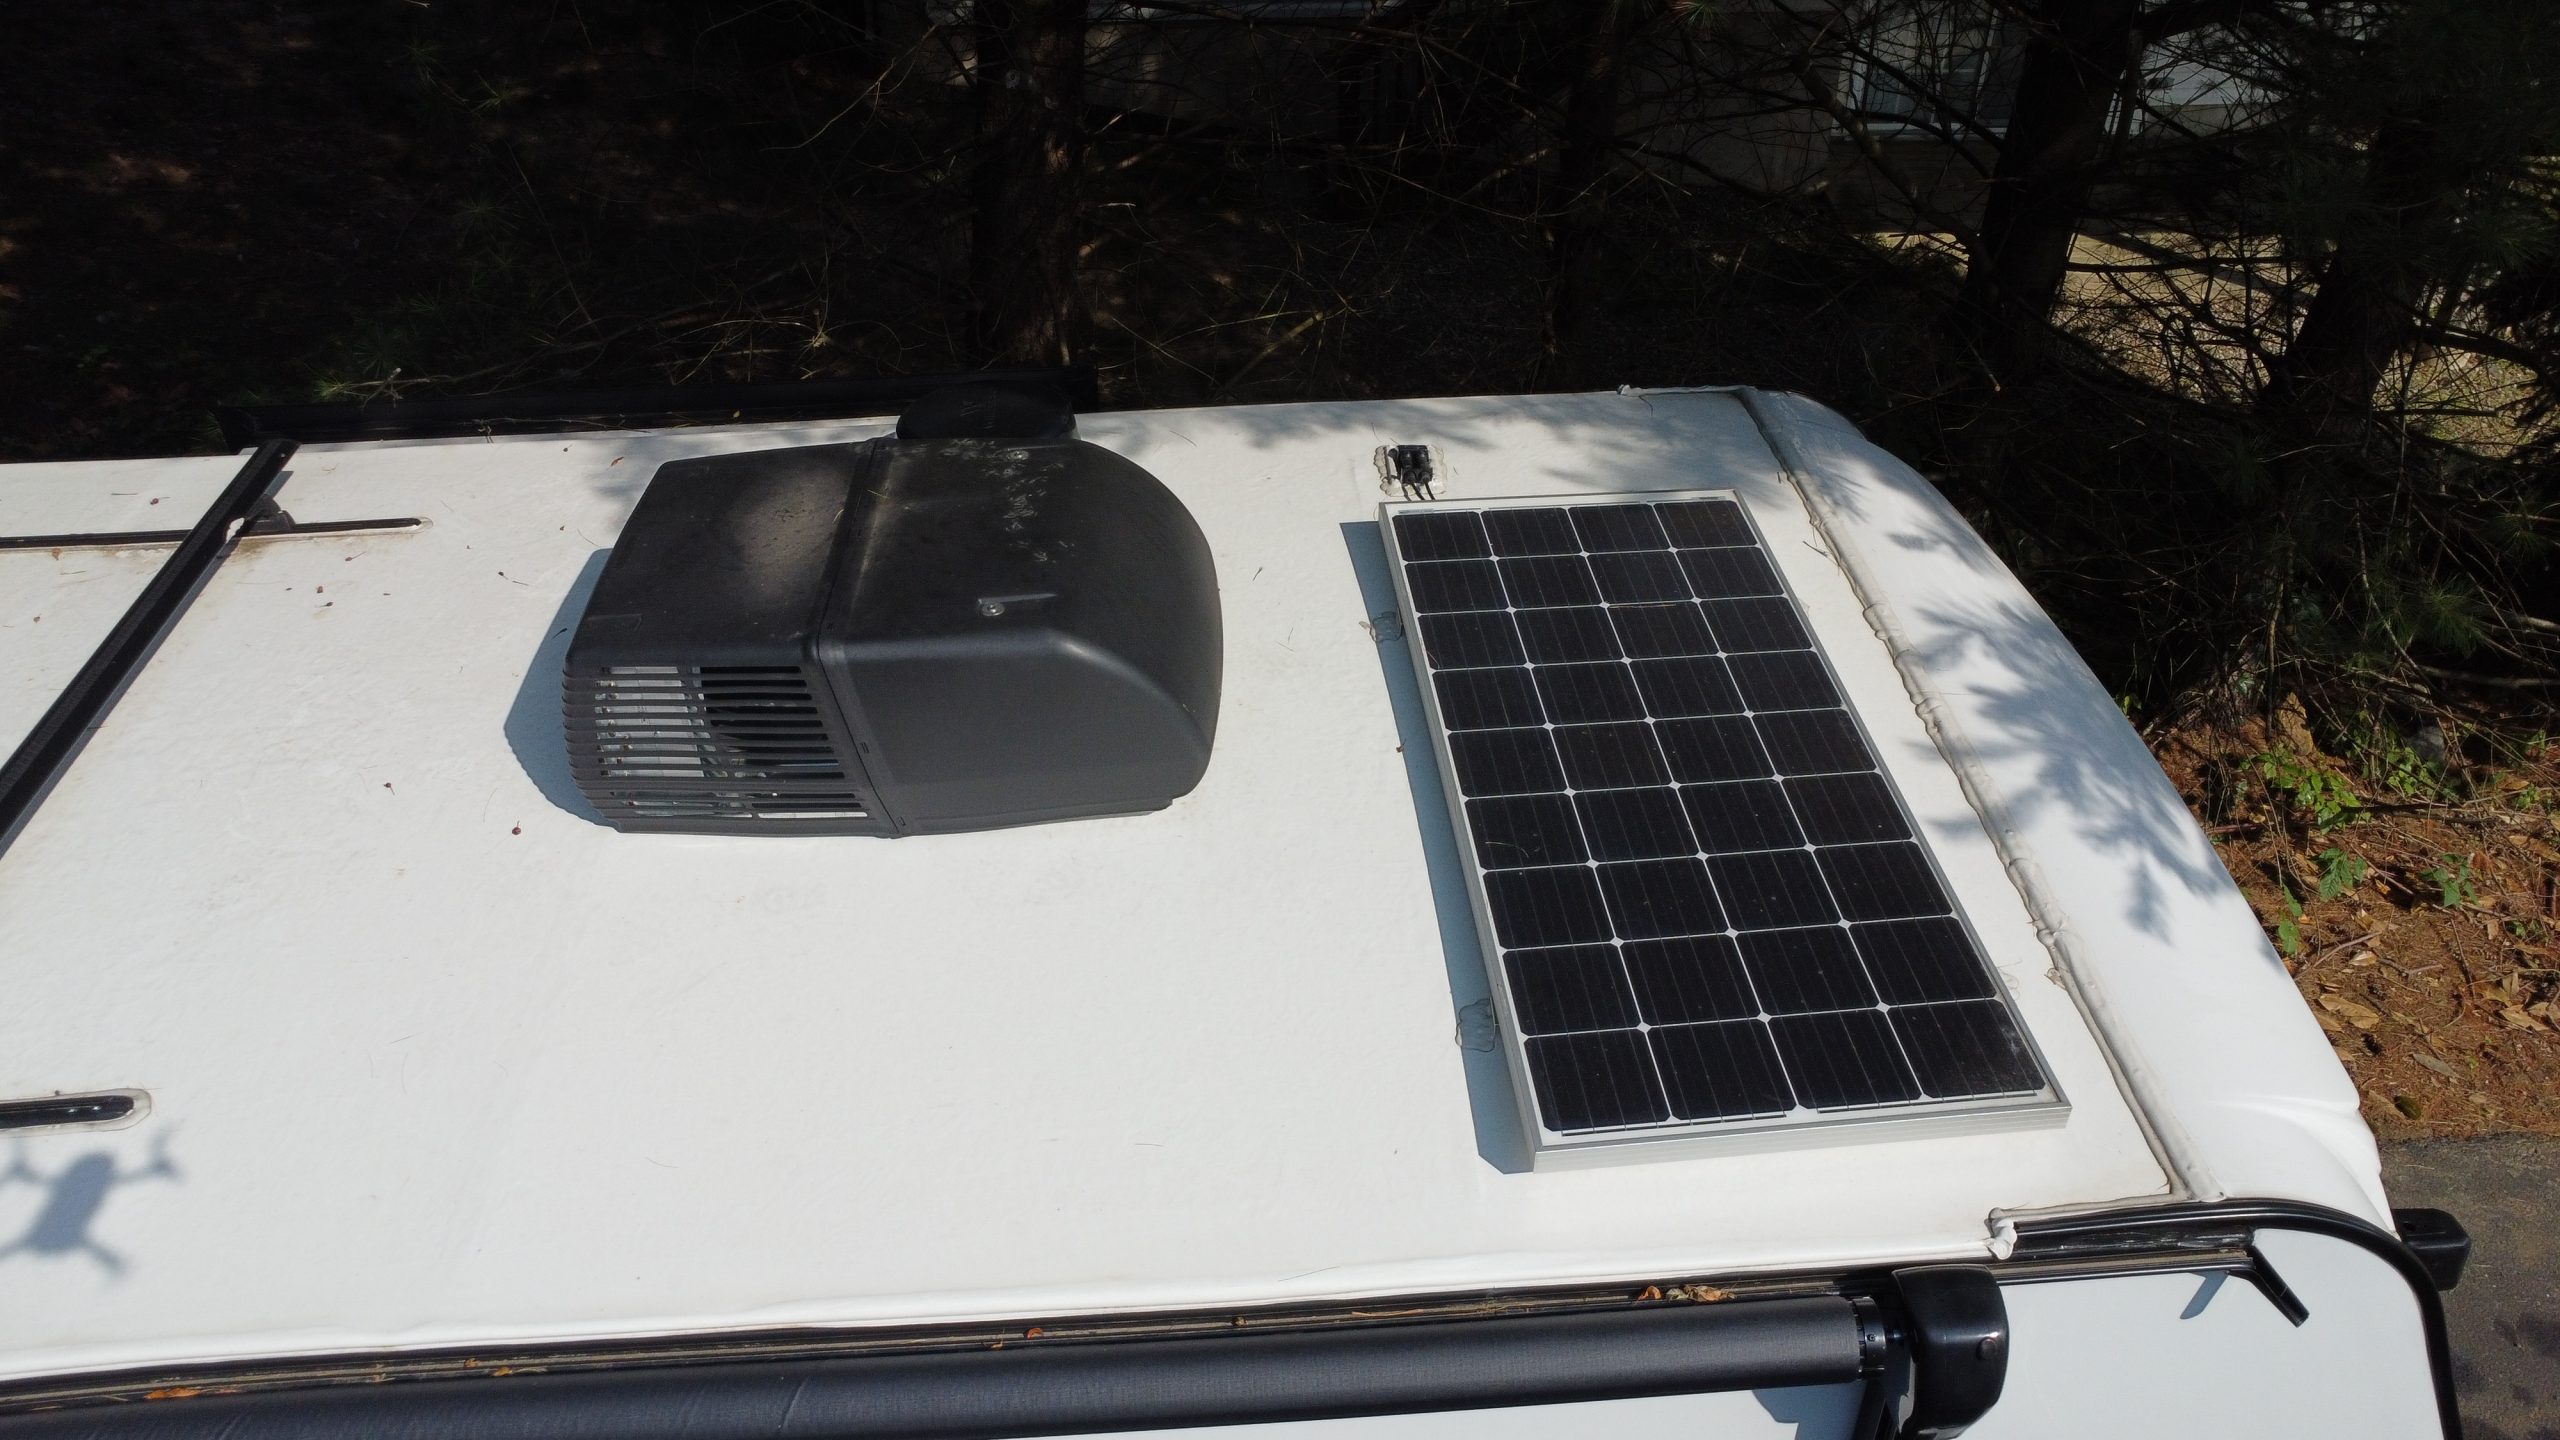
Now it was time to go up on the roof and install the second solar panel. The placement was easy, because there was only one place to put the solar panel. Mounting it was the messy part.
Behold the four stages of Dicor.
- Stage one; Put a decent sized blob down before you put whatever you are screwing to the roof down.
- Stage two; Screw it!
- Stage three; Flood the entire bracket and fastener with Dicor
- Stage four; come back later and inspect it’s self levelling magic.
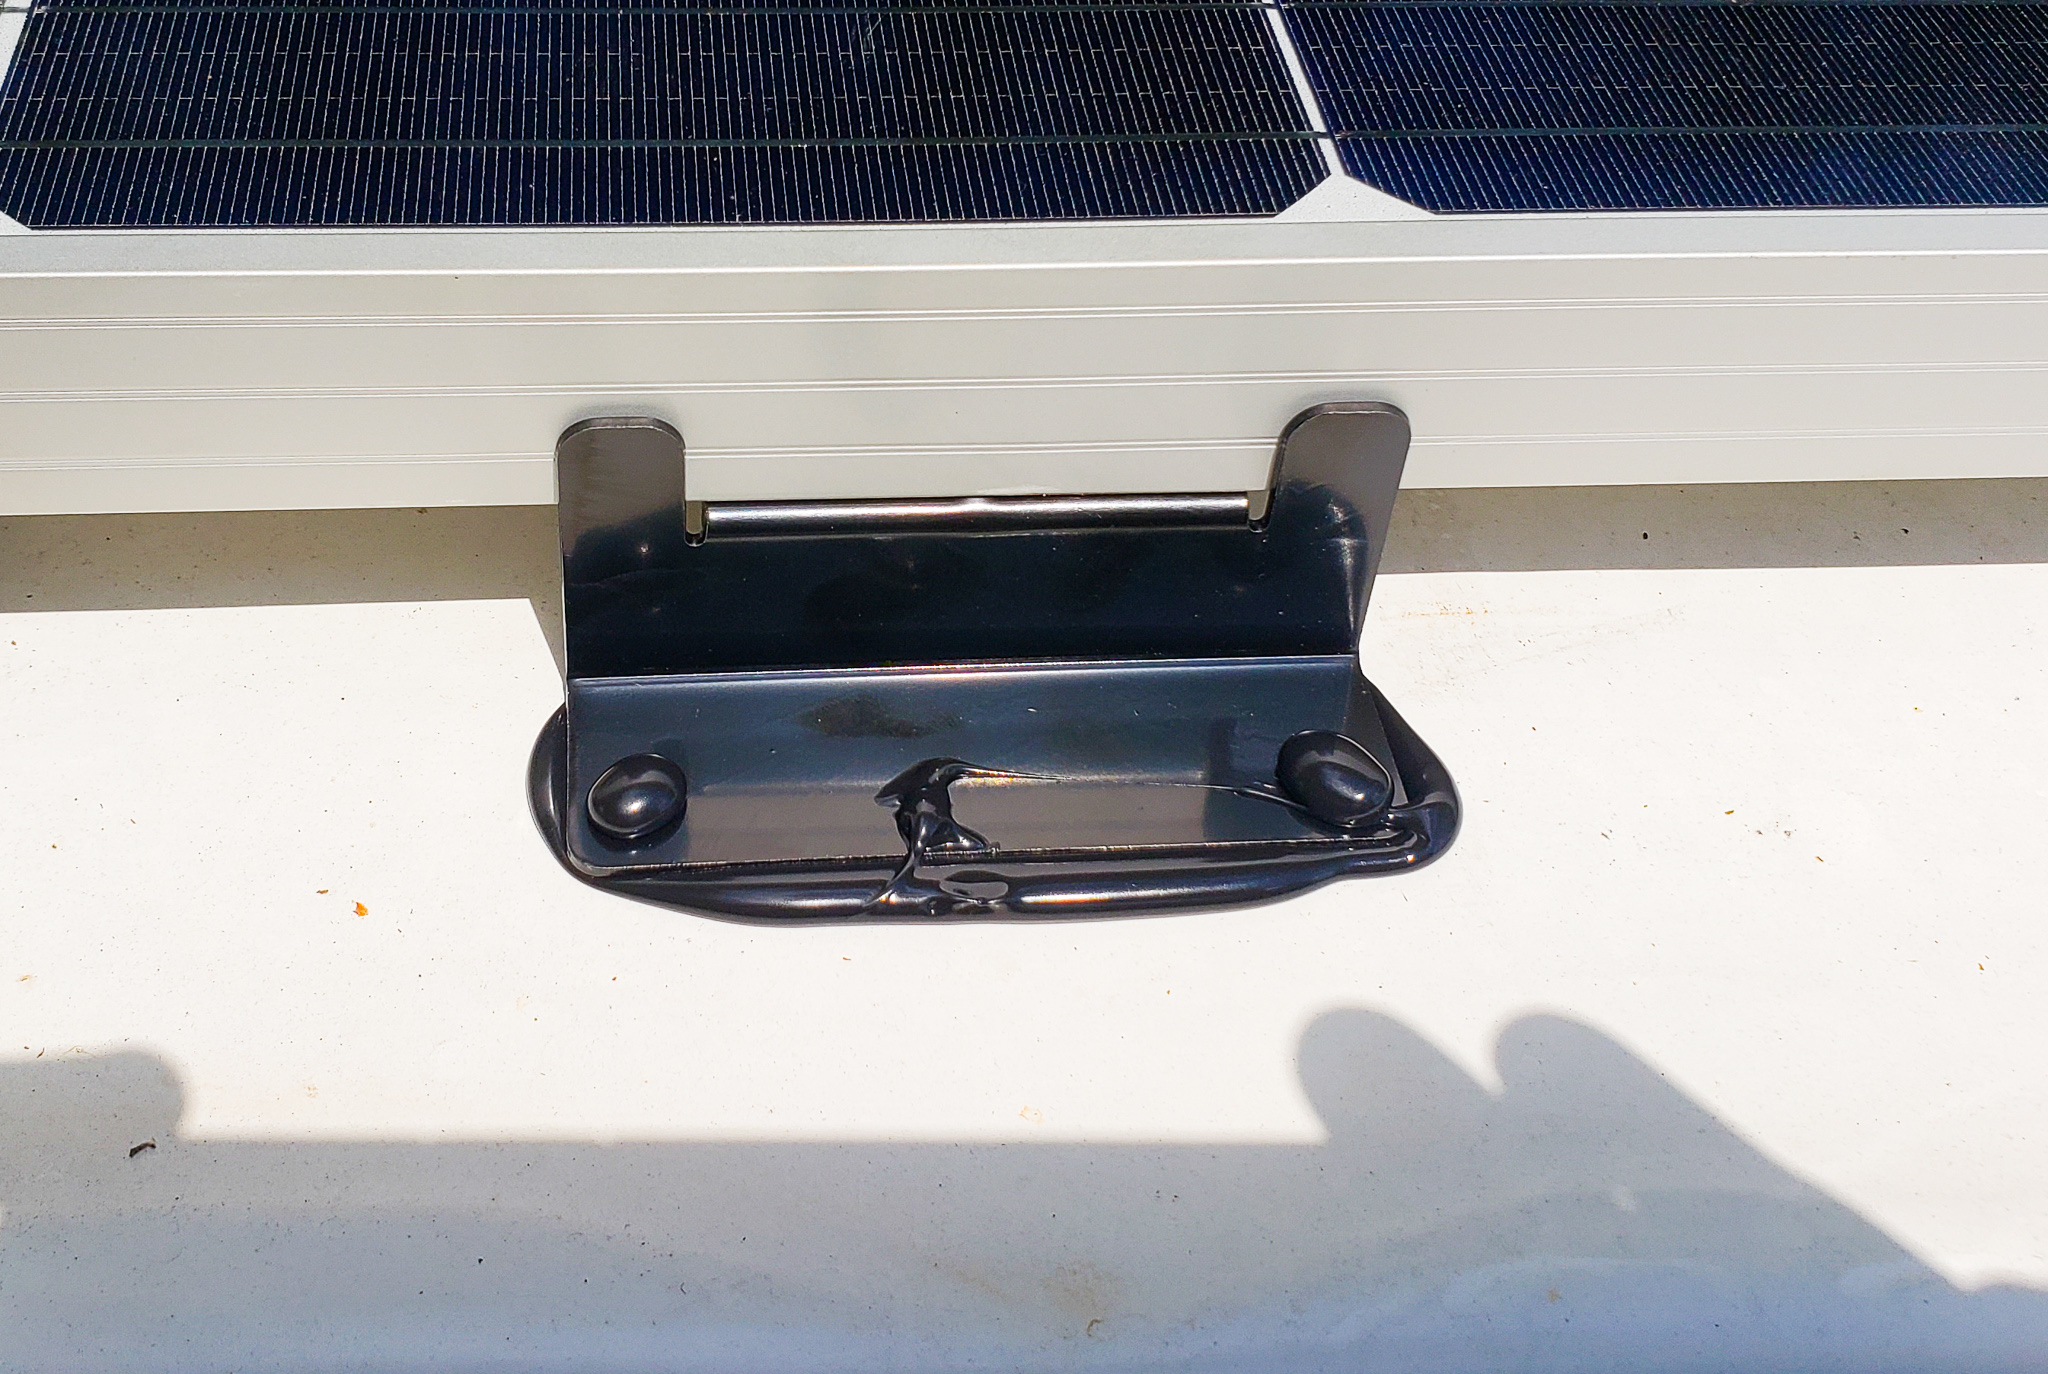
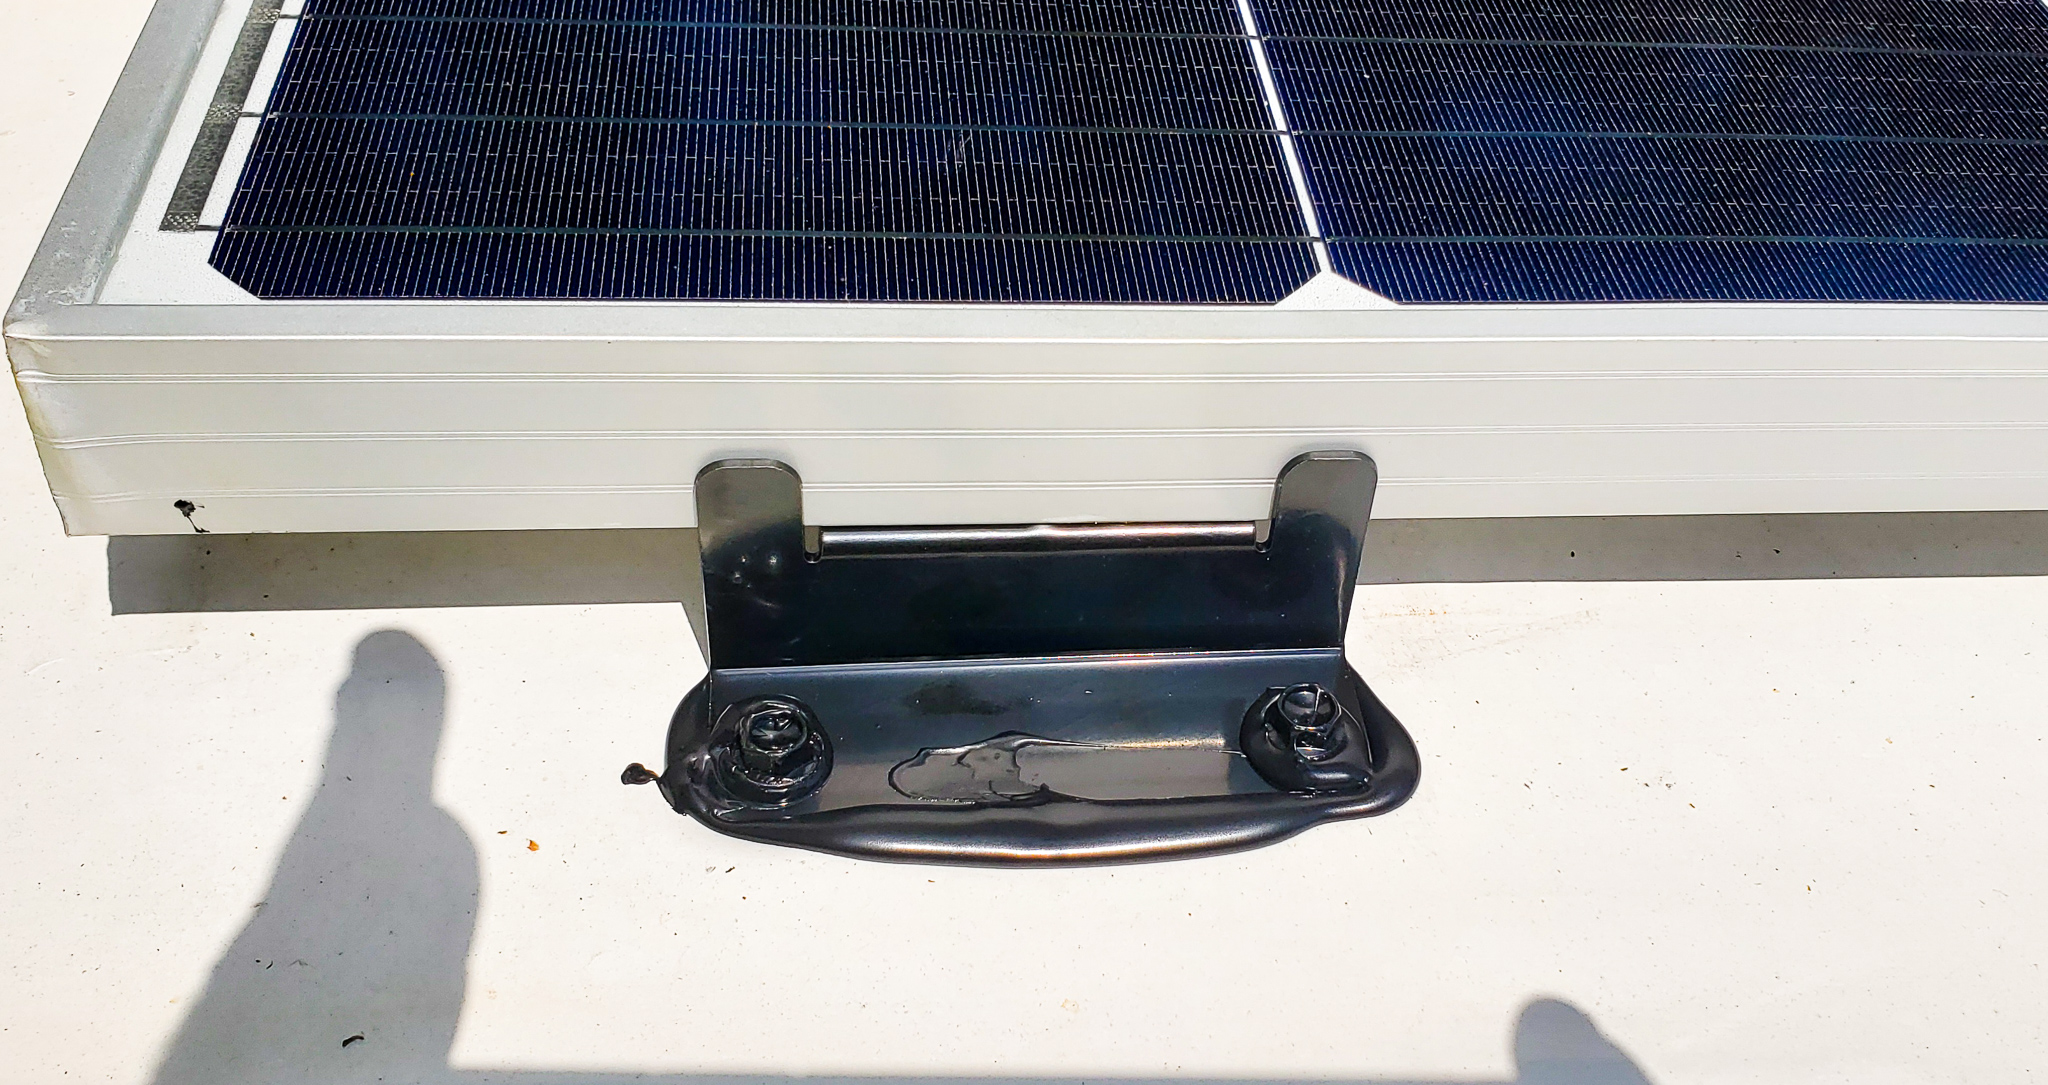

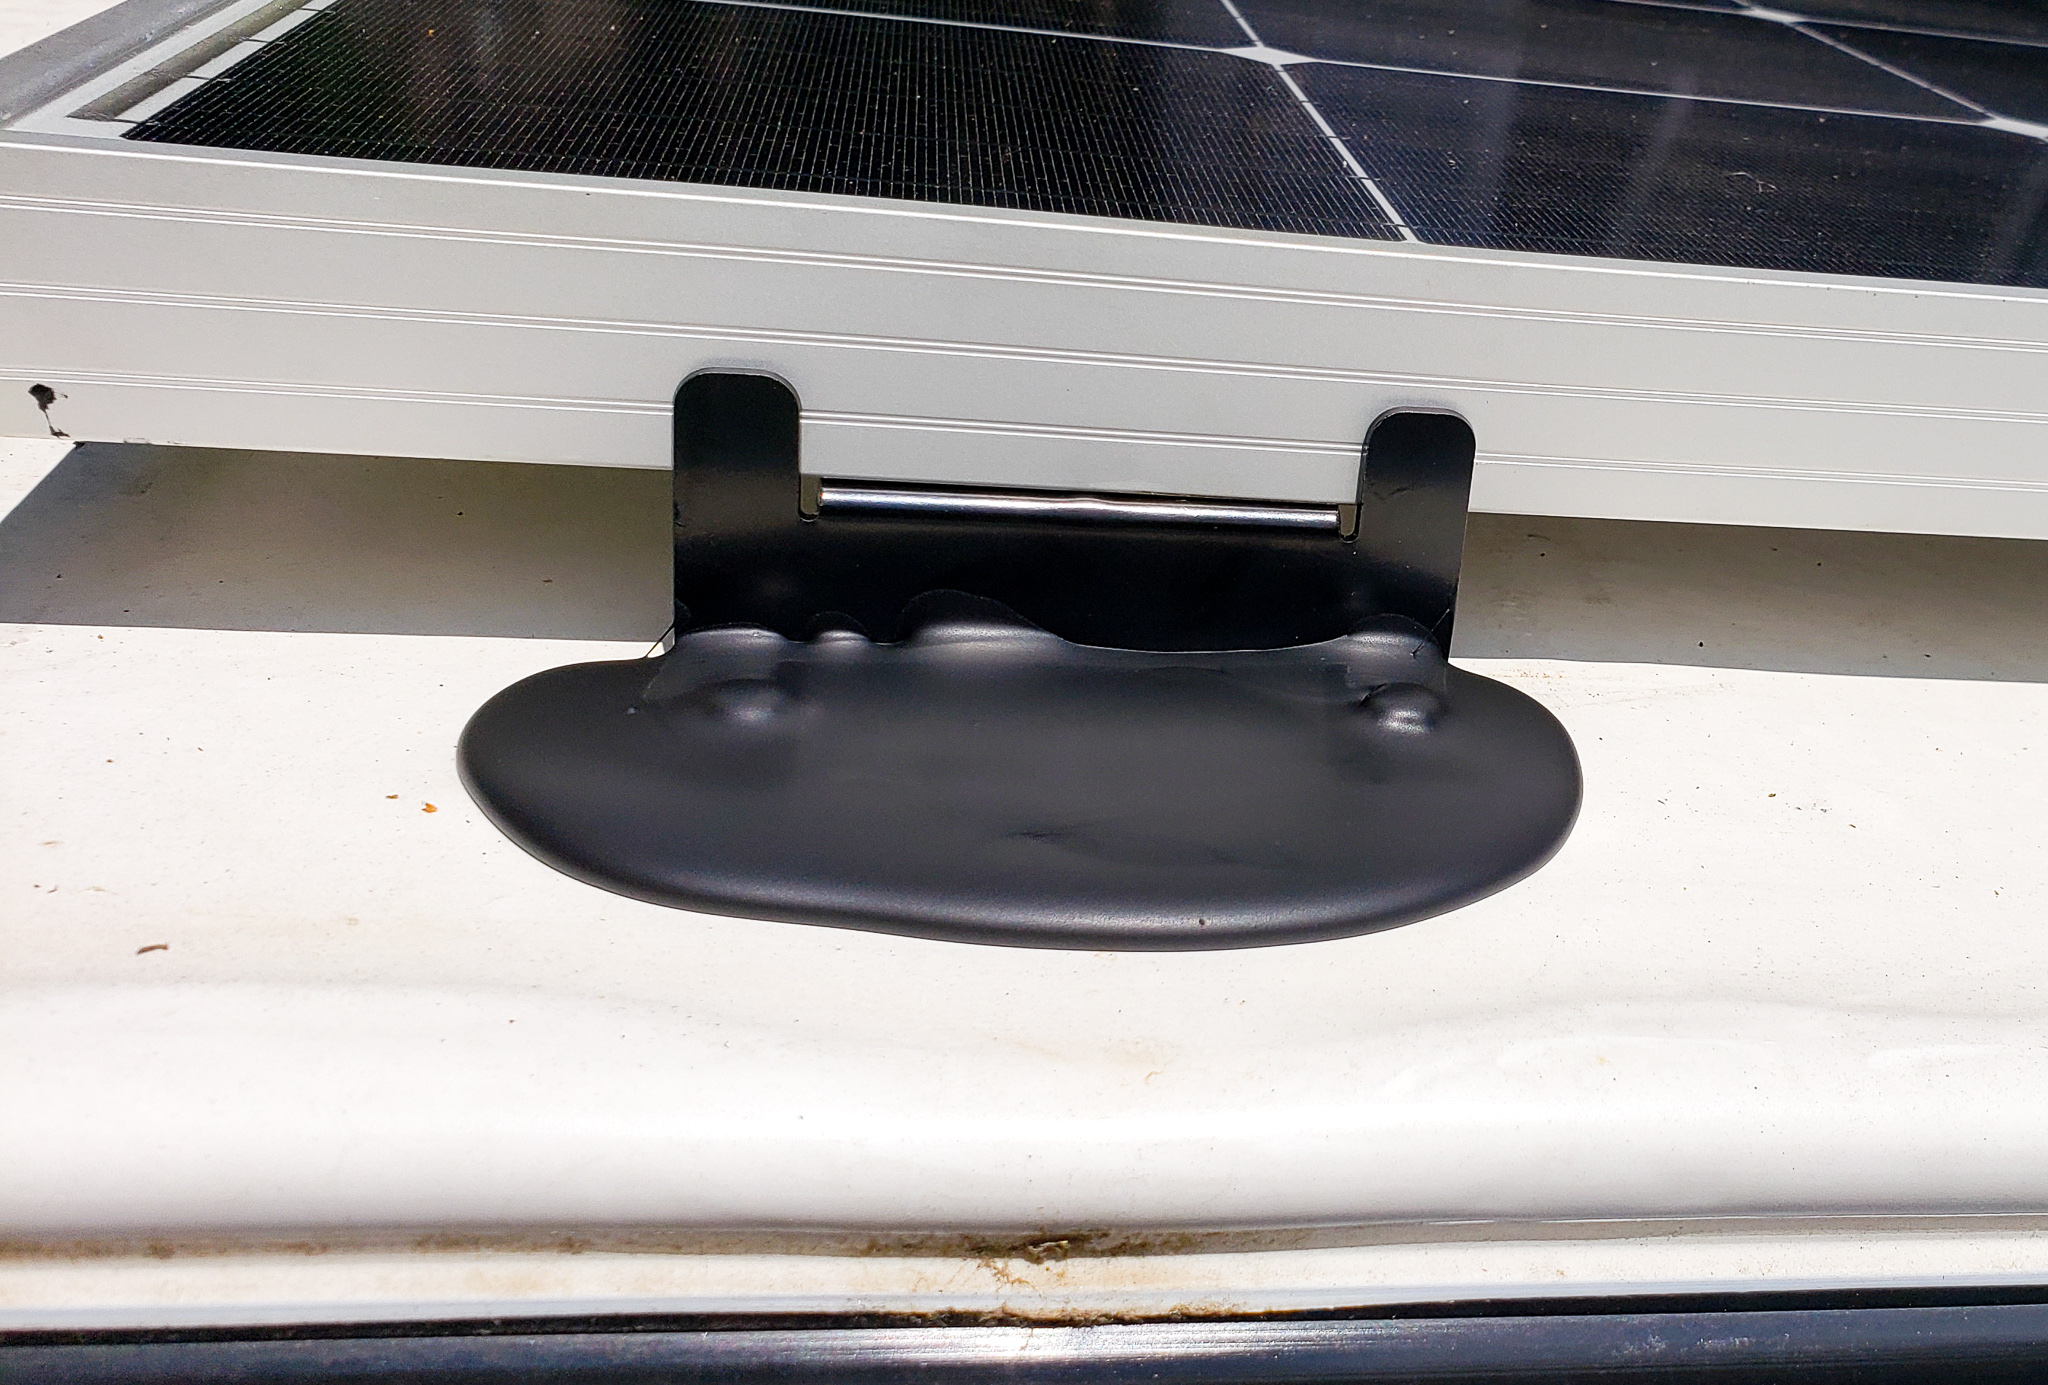
I screwed up and got black instead of white Dicor, but I didn’t notice until it was coming out of the tube, so I just committed.
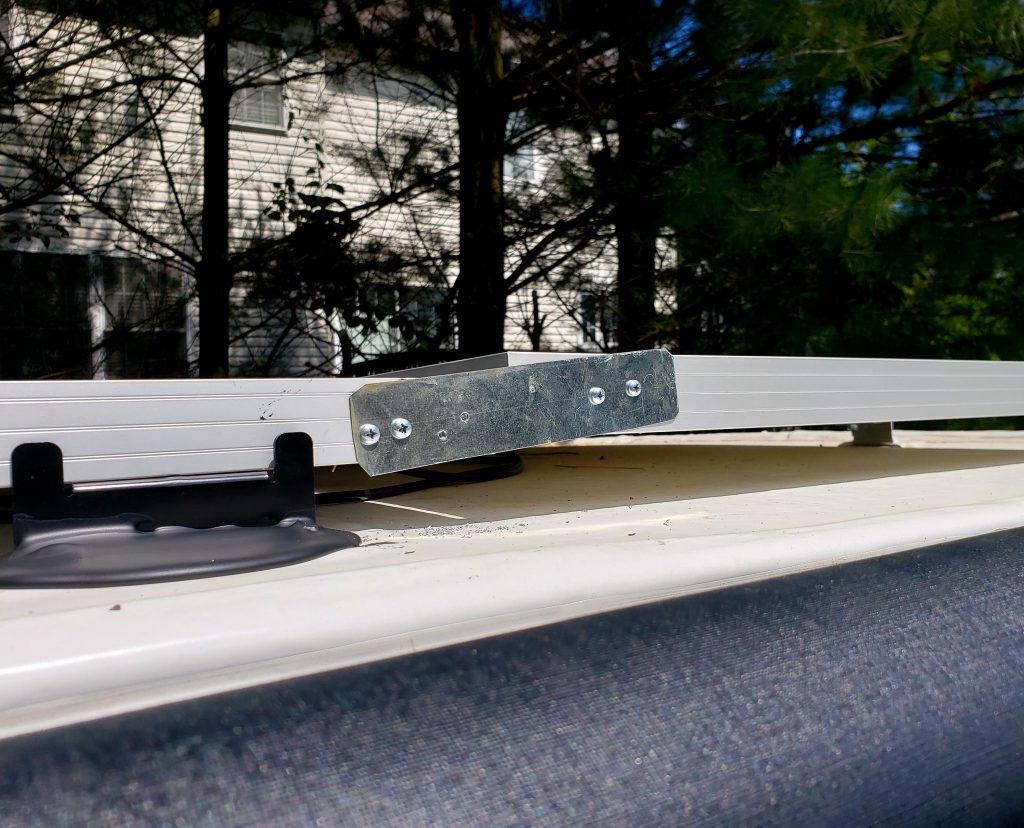
I then added a couple of strips of galvanized steel to the sides of the two panels to anchor them together.
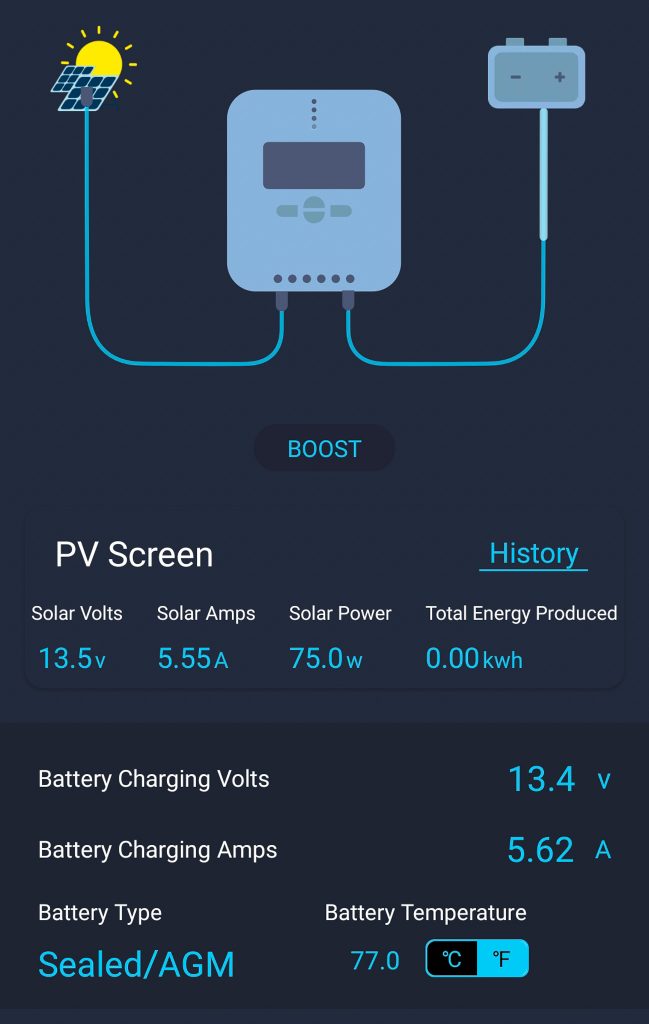
Next I plugged in the cables and we are in business! Double the battery, double the charging ability!